

Something Old, New, Borrowed & Blue
Think about what you have on a shelf that needs some attention and be the creative floral artist you have always been. Imagine what an item can become and make it happen. Yes, you should always think out of the box when designing, creating and living.

Create something beautiful…
Think about what you have on a shelf that needs some attention and be the creative floral artist you have always been. Imagine what an item can become and make it happen. Yes, you should always think out of the box when designing, creating and living.
Something borrowed…
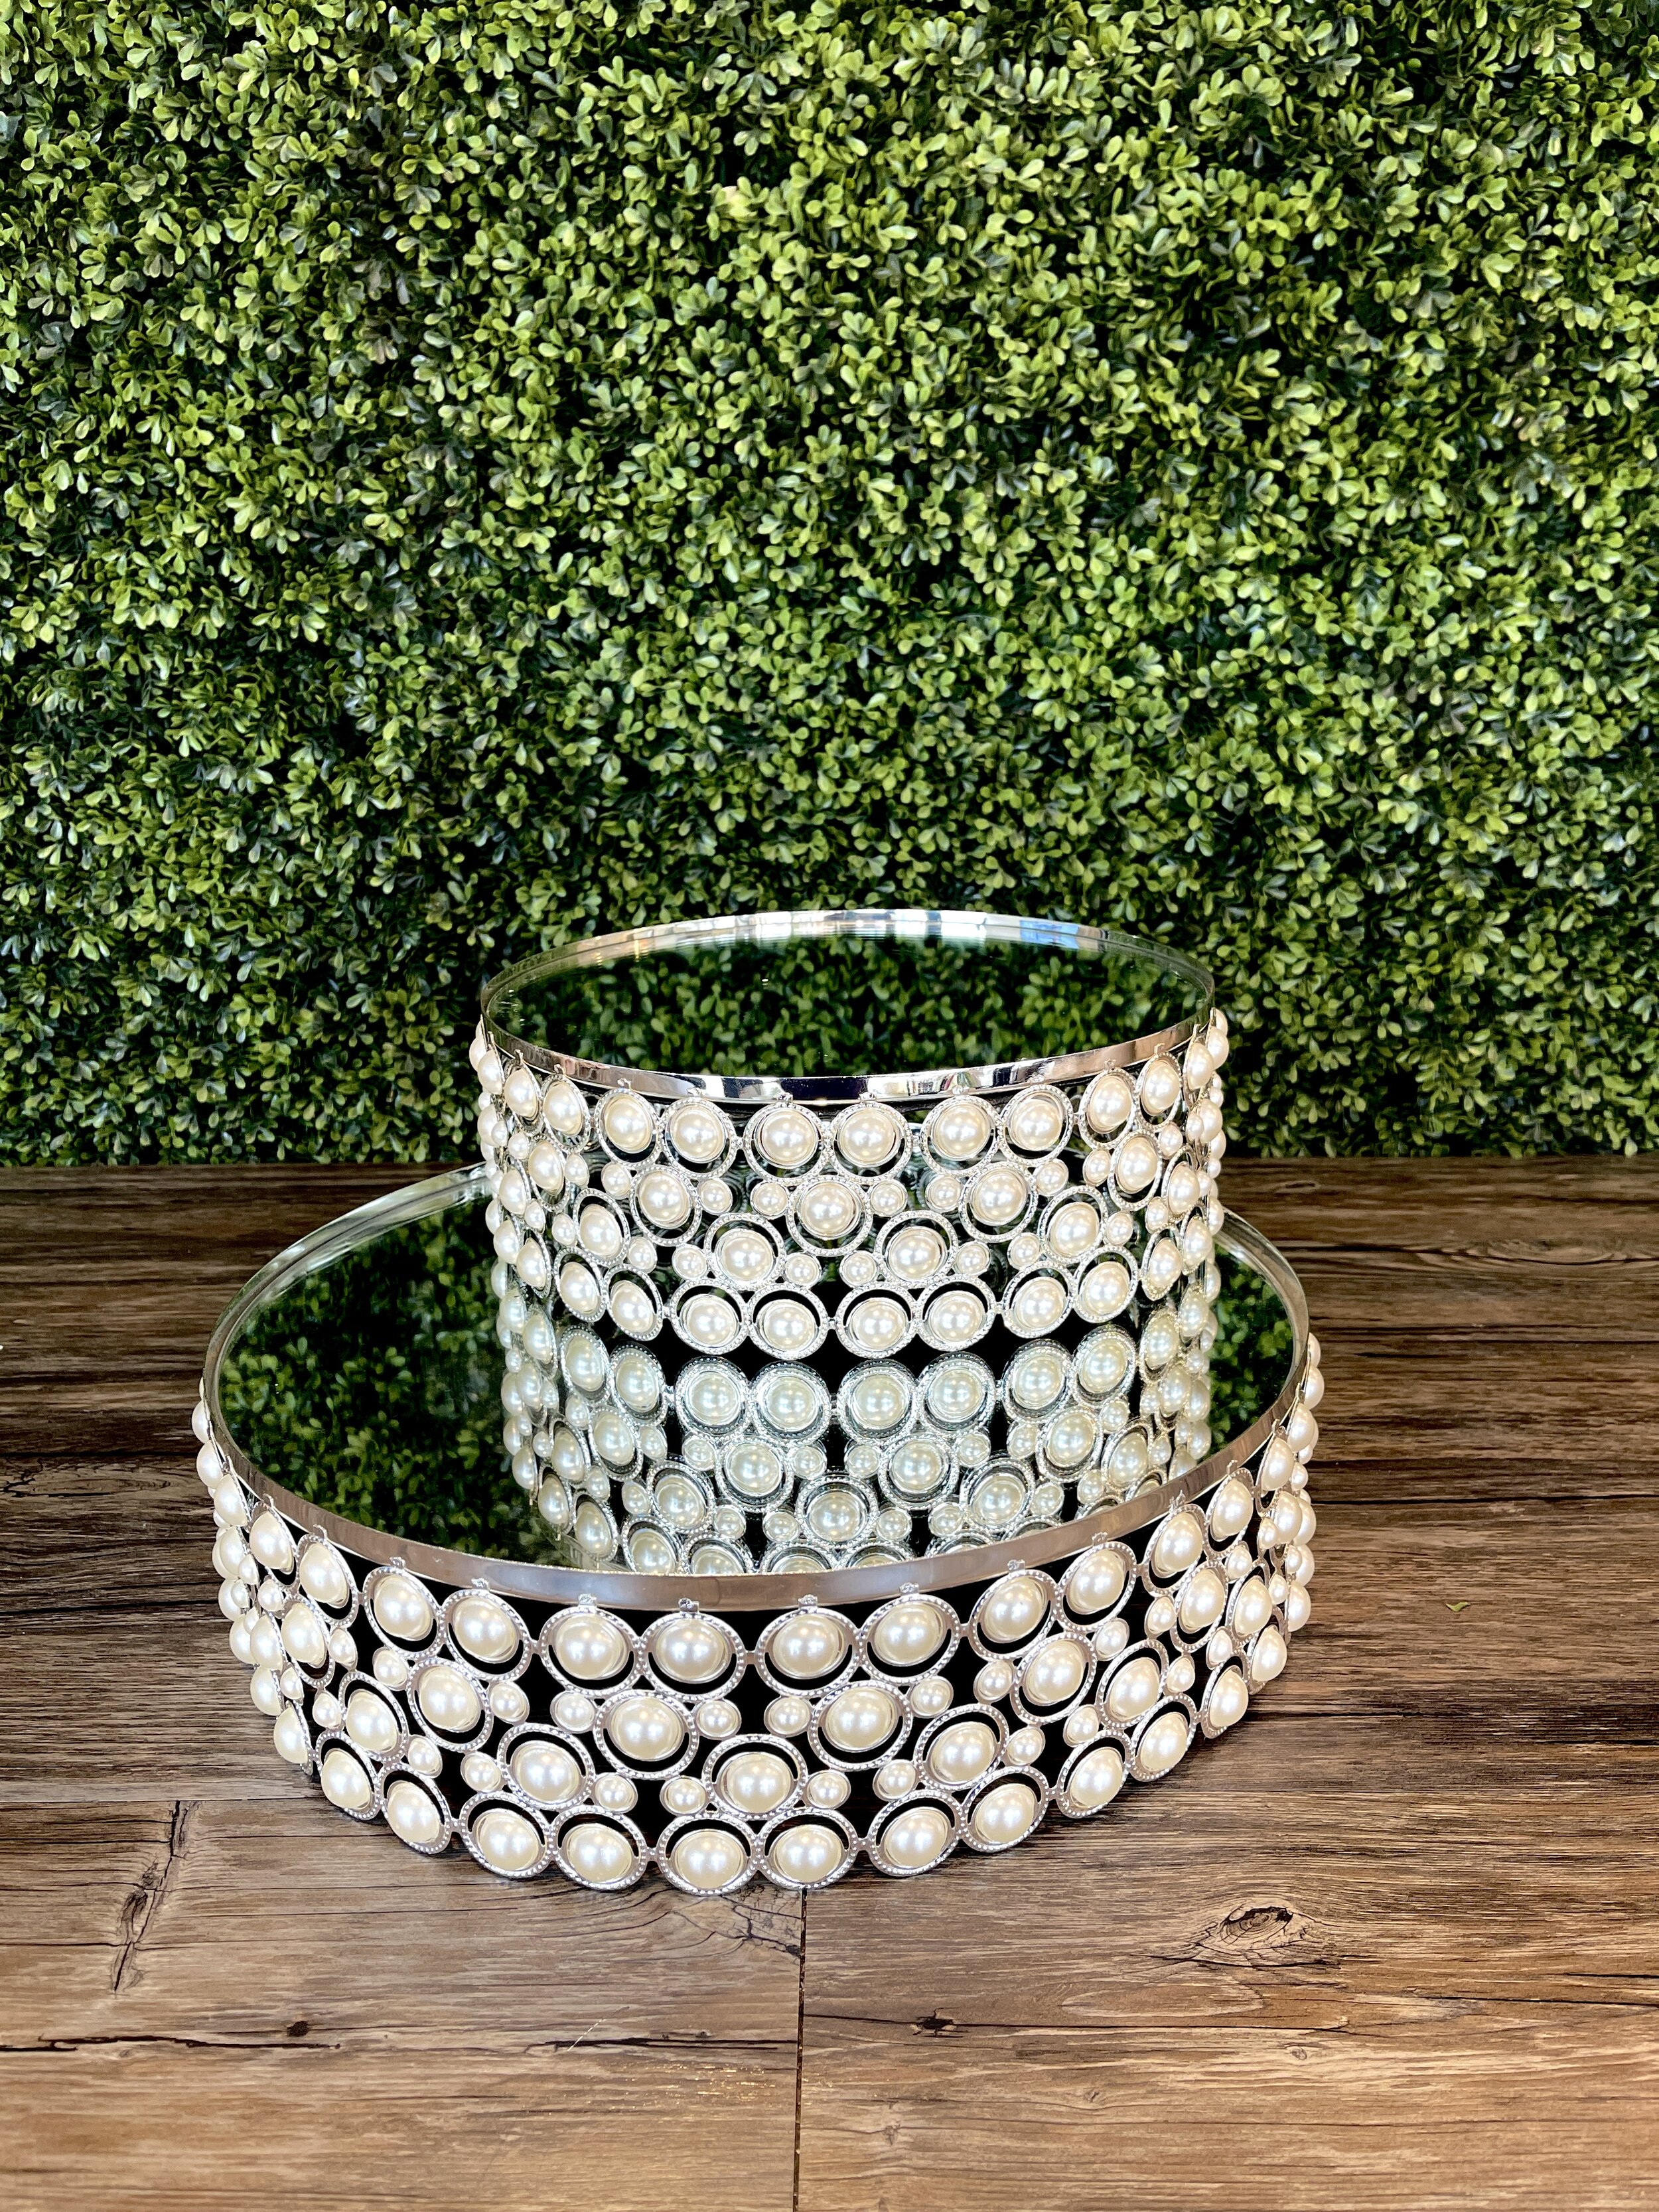
Utilizing your rental pieces in a unique way to create a beautiful display is a key to success. Reinventing these amazing cake stands into a design will enhance any dessert table.
Something old….
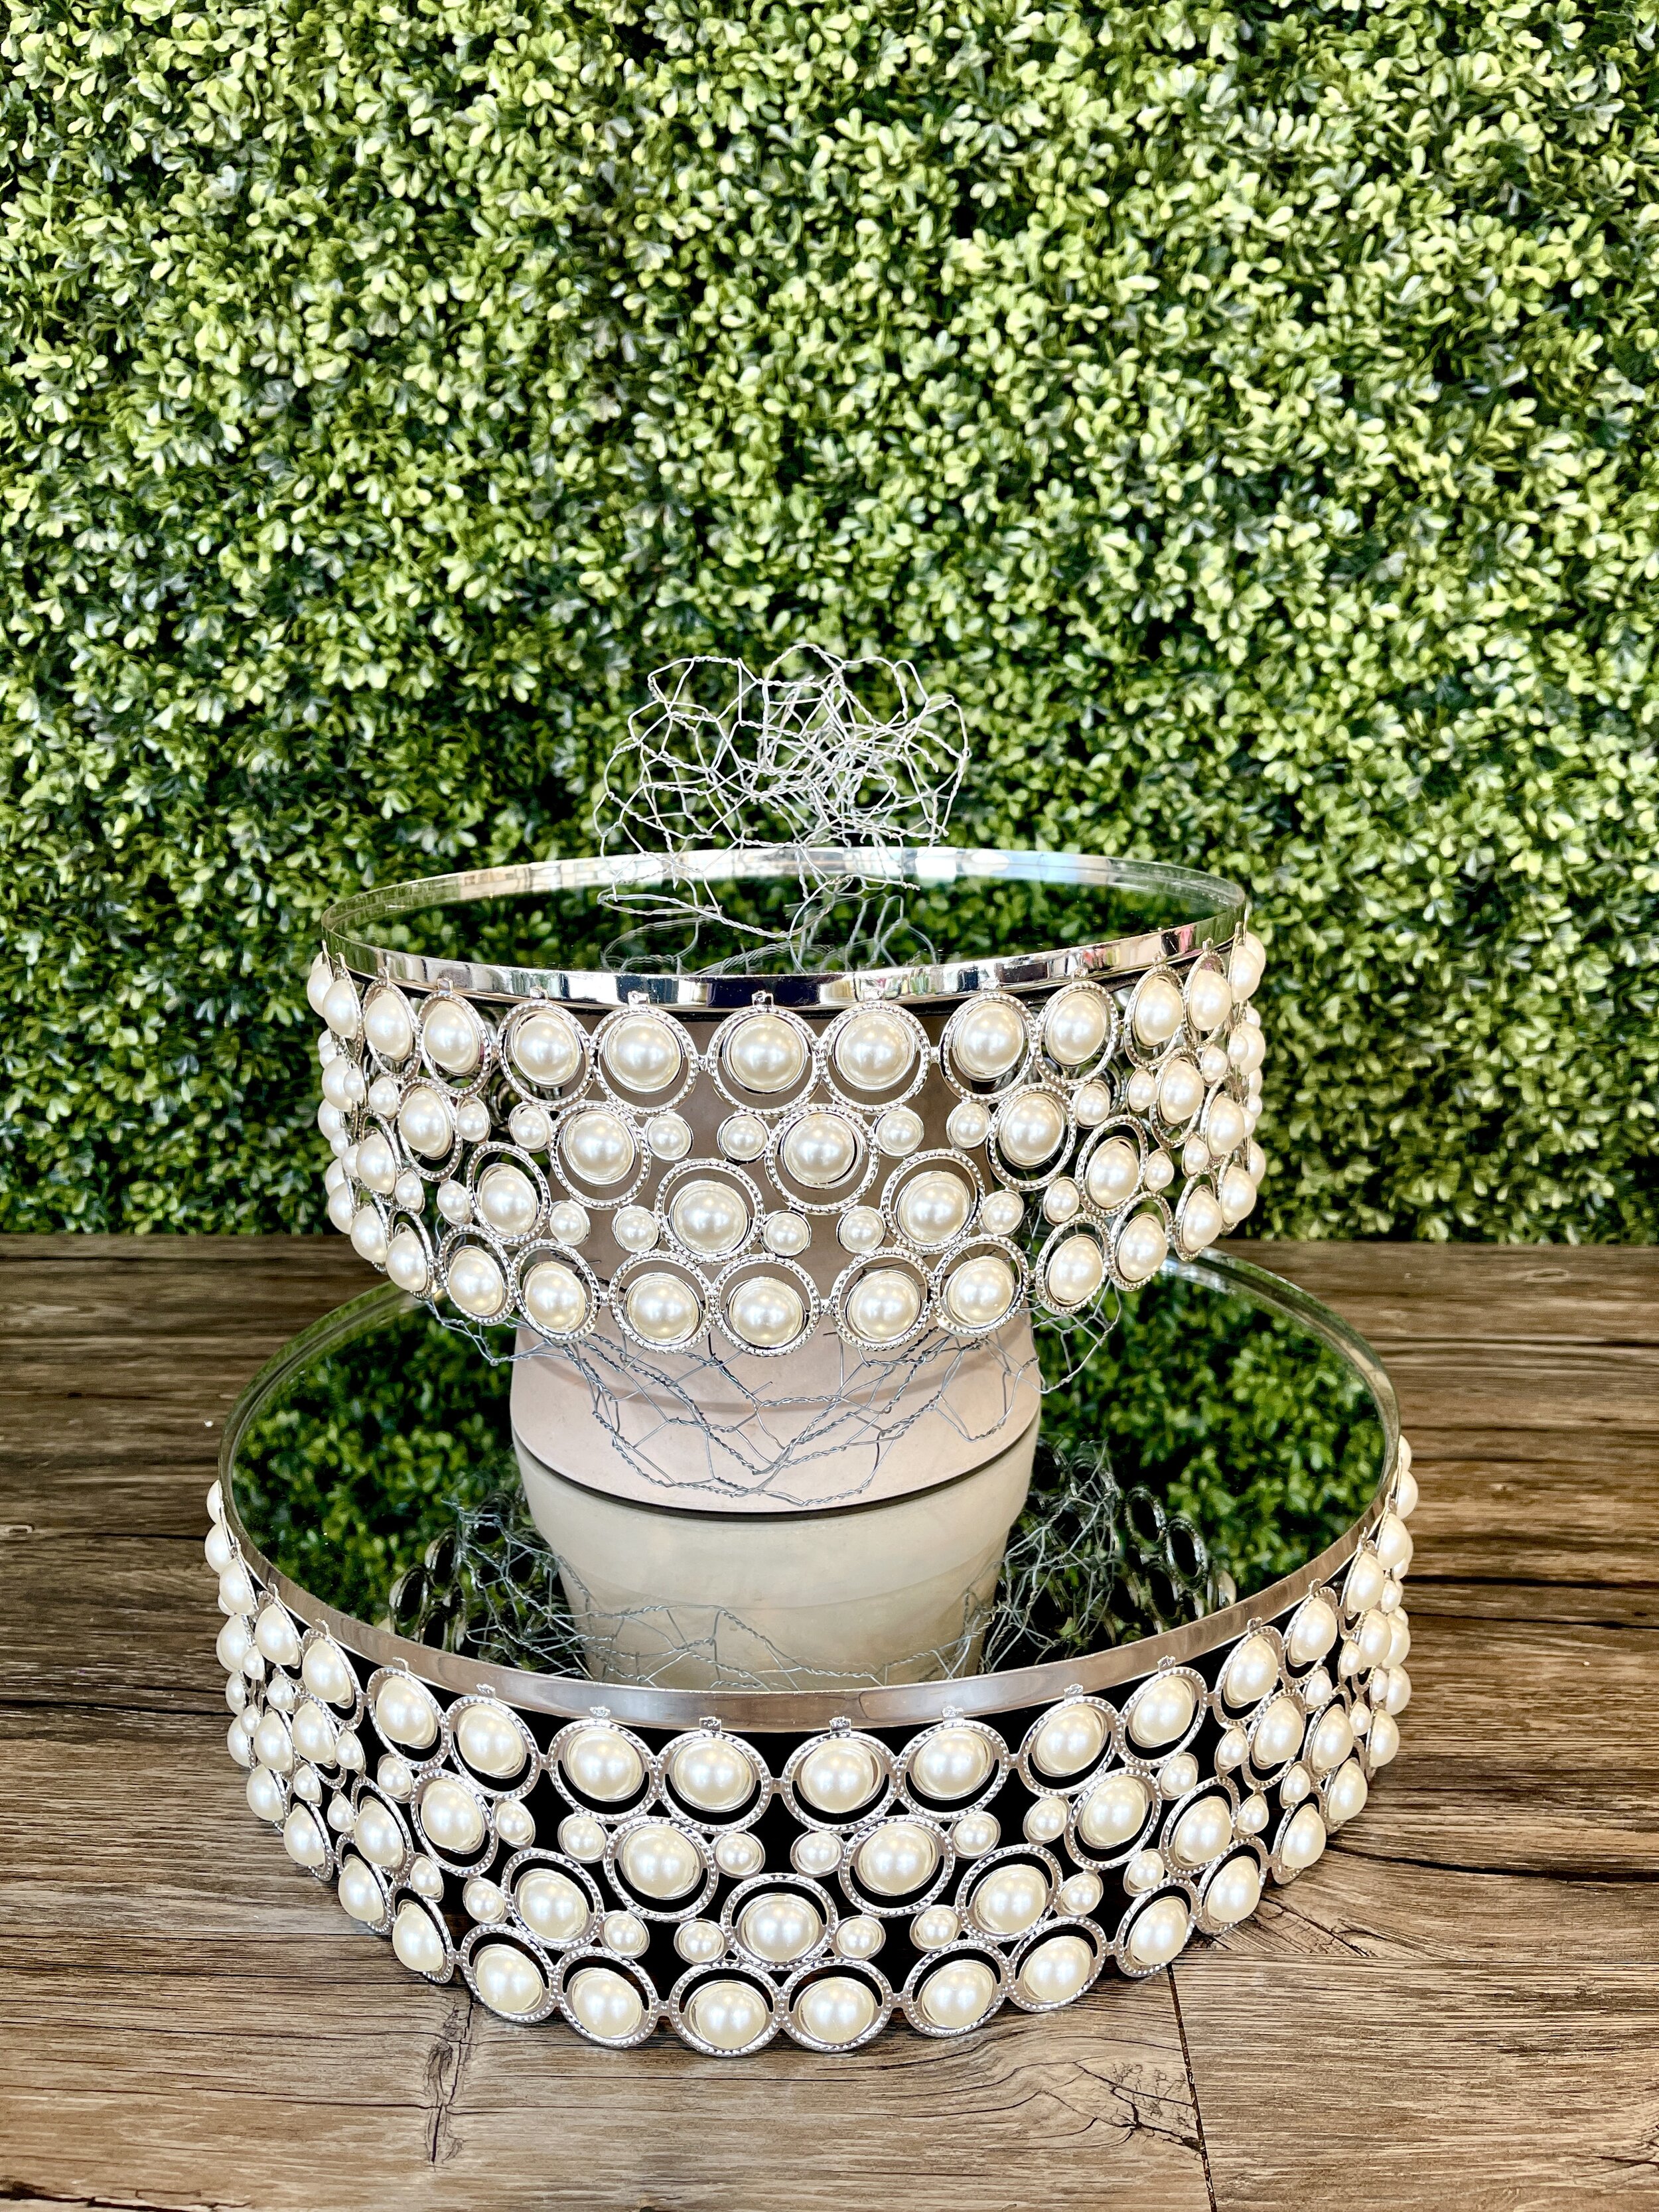
The structure was constructed using a plastic 6” flowerpot separating the two tiers of the cake stands. I then wrapped poultry wire around the pot and a cluster of it on the top tier. Make sure to fold in your end pieces so it does not damage the mirror. The wire is used to hold the floral in place for the design.

Something new….
Such a beautiful assortment of garden blooms:
Green Trick
Hydrangea
Stock
Wax Flower
Monte Casino
Astrantia

Something blue….
The design started with blue hydrangea and green trick as the base floral. These blooms would cover the gap between the levels and poultry wire. Water tubes were utilized to keep the hydrangea fresh.

Placing the blooms….
I placed the remaining blooms into the design. The poultry wire, hydrangea and green trick held the stems in place. Utilize water tubes on your more delicate blooms.

Finish the look….
To finish the display, place the wedding cake upon an additional cake stand. The design will be complete by adding coordinating blooms for the cake décor. A perfect display any couple would love to have on their wedding day.

Old, New, Borrowed & Blue
Such a beautiful way to celebrate love while utilizing what you have in stock!

Pretty In Pink Winter Design
After creating the pink inspired bouquet, I thought why not design something inspired by the bouquet for the holidays! I was inspired by the color pink and winter ice for this holiday design.

Pink + Winter + Holidays = Fabulosity
After creating the pink inspired bouquet, I thought why not design something inspired by the bouquet for the holidays! I was inspired by the color pink and winter ice for this holiday design.

The cast for this show…
Some of the stars for this design are:
white painted branches
pink feather boa
bleached peacock feathers
ornaments
ruscus & silver dollar eucalyptus

Color me pretty….
I created a gypsophila garland and color enhanced it with Design Master Perfect Pink. So delicate yet so impactful.

Let the assembly begin….
First, I added chicken wire to the vessel to hold stems in place. I created a duo cascade down the side of the vessel by layering the pink feather boa on top of the gypsophila garland. Next, I inserted the peacock feathers off to the side for drama and white branches in the center of the design for height.

Color and movement….
I choose seeded eucalyptus and frosted ruscus because it had the perfect color and movement. The eucalyptus flowed beautifully over the vessel. The combination of the two foliages worked perfectly with our pink winter theme.

Flower power….
I utilized pink lisianthus, ivory roses, pink astrantia, pink scabiosa and white statice for this design. The shades of pink and white completely worked with the theme. Soft and delicate yet extremely impactful. Inserting the pink lisianthus down through the gypsophila garland increased the visual movement of the design.

Accented with frost….
I brought the holidays feel into this design by adding iridescent and crystalized ornaments to the design. The textures and colors are perfect for our theme. The perfect finishing touches!

Pretty in pink….
The perfect Pretty in Pink design for the holidays. This would be a favorite of anyone who loves a unique and nontraditional winter holiday arrangement. The feeling of the season is unique for everyone!

Happy Holidays and warm wishes for the New Year!

Understanding The Client’s Vision
Listening and understanding is key to your client’s happiness. When I meet with a couple, I ask them about their event vision, floral and design likes/dislikes, and their love story to create a one-of-a-kind wedding look specific for them. I believe in inspiration however as a floral artist it is up to us to create a custom design for our clients utilizing their dreams.
Listening and understanding is key to your client’s happiness. When I meet with a couple, I ask them about their event vision, floral and design likes/dislikes, and their love story to create a one-of-a-kind wedding look specific for them. I believe in inspiration however as a floral artist it is up to us to create a custom design for our clients utilizing their dreams.

Give them what they want….
This specific client requests were white floral, candlelight, multiple vessels, gold, glass and romance. Of course, my answer is YES, I would be happy to incorporate their vision into the final designs.
This is going to be a stunning wedding!

Picking the blooms….
For this tablescape I selected Playa Blanca roses, white peonies, white spray roses, silver dollar eucalyptus, and ruscus. The shades of white and guaranteed to add to the romance of the day.
I choose all round shaped blooms as I wanted a round compact floral arrangement for this centerpiece.
Playa Blanca are my go-to roses for wedding design. They open beautifully and are a strong rose choice.

Element by element the design comes to life….
Accent Décor Athena Candle Holders provide the visual weight for this tablescape. They are visual luxurious and the perfect shade of gold.
When selecting elements for the centerpiece I always take into account the room they will be going in. This specific room is luxurious with gold accents.

Glow….
I incorporated candlelight by adding pillar candles enclosed in cylinder vases to two of the candlesticks (tall and short). A beautiful floral display will be placed on the third candlestick.
You need to be educated on venues regulations when designing within their spaces. Example: many venues require all candles to be enclosed in glass.

Keep adding elements….
As the tablescape continued to come to life I will added 3 various height cylinders with pillar candles around the design. The success of this tablescape is the various levels being created by the vessels.

Bringing it down to the table….
The final hardgoods added to this tablescape was 8 votive candles. 4 will be mercury gold and 4 will be clear glass. I have grouped the candles (1 gold, 1 clear) around the display.
When the guests walk into the room they will be greeted by various heights of candlelight and floral. A perfect visual welcome!

Bringing in the green….
I prepared the floral elements by greening two arrangements with ruscus and eucalyptus. I utilized a 4” and 6” liner to hold the designs. For event work I prefer to utilize Oasis Midnight Floral Foam. I highly recommend this foam as it is easily covered and takes less product to create the final look.

Pretty petals….
Next, I added the floral elements. The Playa Blanca roses, white peonies, white spray roses were designed in a round and compact style. I wanted to ensure I did not block the candlelight with the floral. It ia all about enhancing each element to complete the final cohesive look.
When designing for a wedding I prefer to have the floral elements hydrating for 4 days prior to designing. This will ensure the blooms open and are healthy for the final designs.

It all comes together….
I loved utilizing all the couple’s requests for this design. By listening and understanding you will be sure to create the dream day the couple envisioned.

LOVE….
This is a picture of the sample floral. I can not wait for the wedding day to fill the room with floral!

Designing Original Floral Art For Your Clients
Creating an inspired statement bouquet is key to your client’s happiness on their perfect day. The completed design should be inspired by your client and designed as a one-of-a-kind piece of floral art that they are happy to carry down the aisle.
Creating an inspired statement bridal bouquet is key to your client’s happiness on their perfect day. The completed design should be inspired by your client and designed as a one-of-a-kind piece of floral art that they are happy to carry down the aisle.

Pretty in Pink…
When a bride asks for a “Pretty in Pink” feminine bouquet the answer is always yes. Yes, I will design the most beautiful bouquet that represents your style and vision for your wedding day.

Picking fabulous blooms….
First step is picking the perfect blooms for the bouquet. I chose to utilize roses, veronica, lisianthus, scabiosa and gypsophila. Utilizing shades of white and pink were key to bringing this bouquet to life.

Enhancing the natural beauty….
I started by color enhancing the gypsophila with Design Master colortool spray. The color chosen was Perfect Pink for this bouquet. When painting the floral, I focused on highlighting the floral without saturating the entire stem. I wanted some of the white to remain to highlight the pink.

Movement and structure….
Utilizing a pink feather boa was key to adding femininity and movement to the bouquet. As the bride walks down the aisle the feathers will dance in the breeze. Using a mechanic such as the Syndicate Sales Pillow will provide structure for the bouquet.

Power of the collar….
I started by gathering the gypsophila around the pillow to create a collar. The pillow will keep the gypsophila in place around the focal floral while providing a space to insert the floral product.

Placing the blooms….
Floral placement is key to completing the perfect bouquet. The roses and lisianthus were designed tight within the bouquet to create the base. I then placed the scabiosa a bit higher and finished with the veronica coming out of the floral to add depth to the finished bouquet.

Time to walk down the aisle….
I finished this bouquet by adding the pink boa around the back of the gypsophlia collar. The perfect “Pretty in Pink” bouquet.